Quick Guide to Starting Seeds Indoors
In brief: To successfully start seeds indoors, choose containers with drainage holes and use a sterile seed-starting mix. Sow seeds at the depth recommended on the packet. Provide consistent moisture, warmth (around 70-80°F), and adequate light from grow lights or a sunny window. Once seedlings have their first set of true leaves, transplant them into slightly larger pots or harden them off for outdoor planting. Avoid overwatering and ensure good air circulation to prevent damping off. Proper care ensures healthy plants ready for the garden (vegetable garden).
Starting your garden from seed can feel a little daunting, right? I remember killing my first few attempts at starting seeds indoors. It’s totally normal to feel that way! This guide is here to help. We’ll cover the best way to start seeds indoors for beginners. You’ll learn the essential steps for success. We’re not covering advanced propagation techniques here. This is all about getting your favorite veggies and flowers going strong right from your kitchen table. Think of this as notes from a fellow gardener who learned by doing (and sometimes failing).
Getting your seeds started indoors gives you a jump on the growing season. It means more options for plant varieties too. Plus, it’s incredibly rewarding to watch tiny seeds sprout and grow. I’ll share practical tips based on my own experiences and reliable gardening advice. We’ll focus on what works for most home gardeners. This guide aims to make the process clear and achievable for you.
Why Starting Seeds Indoors Matters for Your Garden
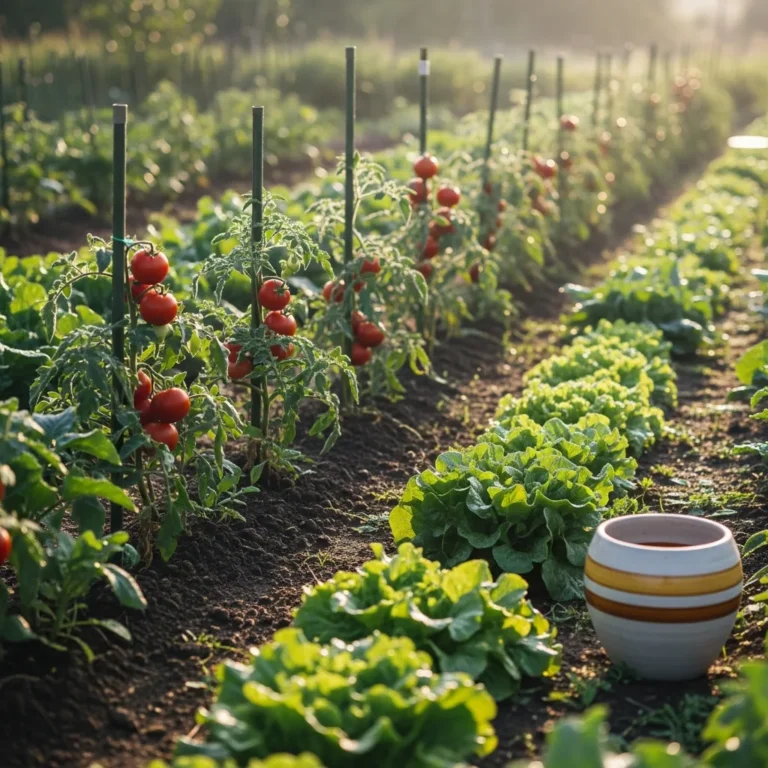
Starting seeds indoors is a game-changer for backyard gardeners, especially in cooler climates. It lets you get a head start on the growing season. Many plants, like tomatoes and peppers, need a longer warm period to produce well. Starting them indoors means they’re already established when the weather is finally right for planting outside. This gives you access to a wider variety of plant types too. Seed catalogs offer amazing options not always found as transplants at the nursery. You can grow heirloom varieties or specific cultivars you love.
It also often saves you money. Buying seed packets is usually cheaper than purchasing individual plants. For example, one packet can yield dozens of seedlings. My own experience shows that starting a few extra plants is easy and gives you backups. The University of Minnesota Extension notes that starting seeds indoors allows gardeners to control the environment for germination and early growth. This means healthier, stronger plants from the beginning. You’re also less likely to encounter early pest or disease issues compared to plants exposed to outdoor conditions immediately.
When to Start Seeds Indoors vs. Buying Transplants
Deciding whether to start seeds indoors or buy transplants involves a few factors. It depends on your patience, available space, and the specific plants you want to grow. Here’s a breakdown to help you decide:
Worth starting indoors:
- Longer Season Crops: Plants like tomatoes, peppers, eggplant, and broccoli need a head start. They require 6-8 weeks or more of growing time before your last frost date.
- Specific Varieties: If you’re after unique heirloom tomatoes or specific pepper types not commonly sold as plants, starting from seed is your best bet.
- Cost Savings: For large gardens or growing many plants, seed packets are significantly cheaper than buying dozens of individual seedlings.
- Seed Starting Hobbyists: Some gardeners simply enjoy the process of nurturing plants from seed. It’s a rewarding part of the gardening cycle.
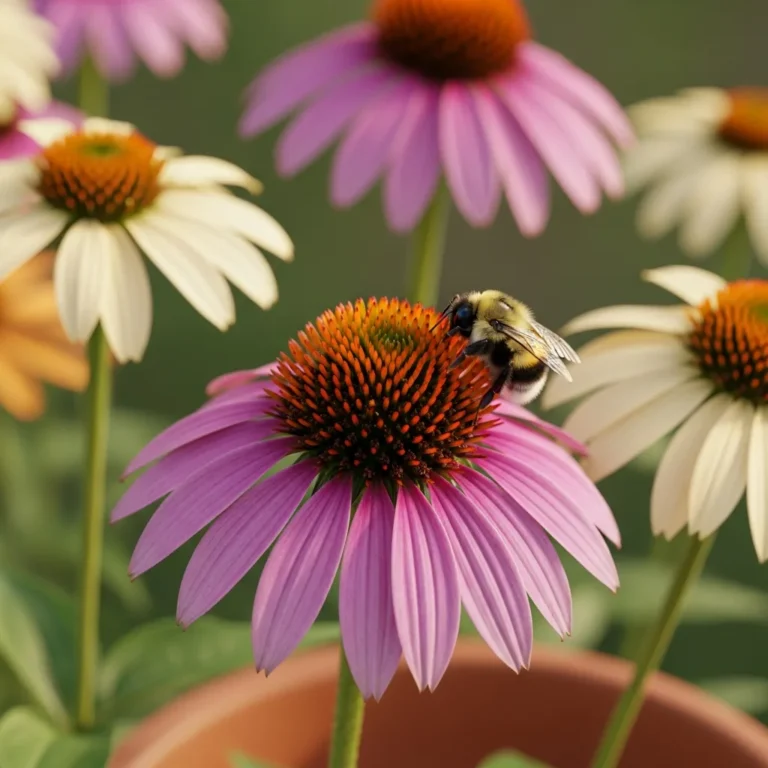
- Certain Flowers: Many annual flowers, such as petunias, marigolds, and zinnias, benefit from an indoor start to ensure blooms early in the season.
Worth buying as transplants:
- Quick Growers: Plants that mature rapidly, like radishes, lettuce, or spinach, are often easier to sow directly outdoors.
- Root Disturbance Sensitive: Some plants, like carrots or parsnips, dislike having their roots disturbed. Direct sowing is usually best for them.
- Limited Space/Time: If you lack space for seed starting or have very little time, purchasing established plants is a convenient option.
- Beginner Assurance: For absolute beginners who want immediate results without the fuss of seed starting, buying healthy transplants is a reliable choice.
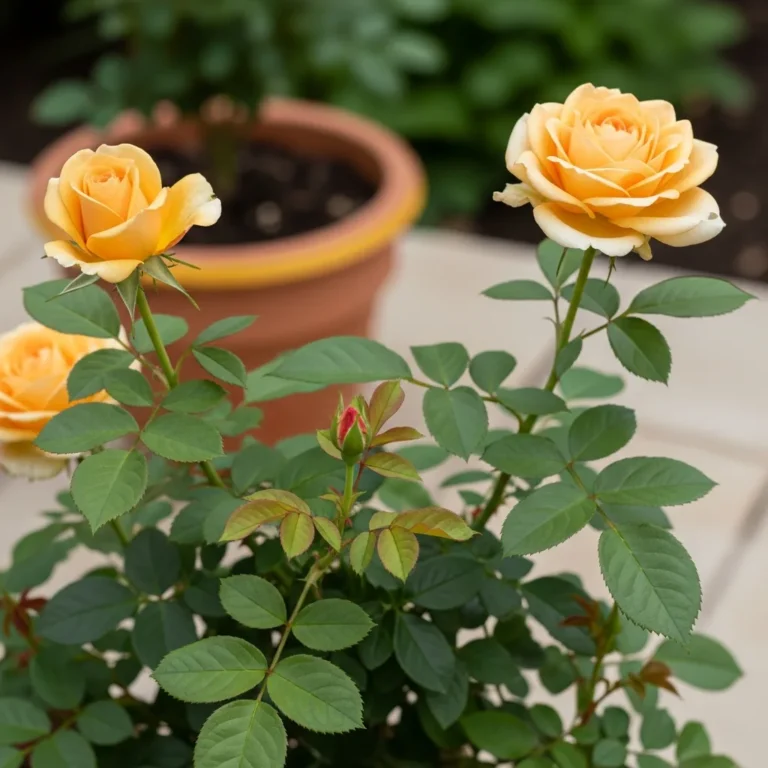
- Perennials and Shrubs: While some perennials can be started from seed, many gardeners prefer buying established plants for faster results or specific cultivars.
Worth calling an expert:
- Uncertain Plant Identification: If you find a volunteer plant and aren’t sure what it is, especially if it resembles a weed or invasive species, consult your local cooperative extension.
- Suspected Disease Outbreak: If your seedlings are suddenly dying or showing strange spots, and you can’t identify the cause, your extension office can help diagnose plant diseases.
- Pest Identification: For serious infestations or if you suspect an invasive pest is present, an expert can provide accurate identification and control recommendations.
- Soil Contamination Concerns: If you’re gardening in an older urban area or suspect your soil might be contaminated (e.g., lead), get a professional soil test through your cooperative extension.
Step-by-Step Guide to Starting Seeds Indoors
- Choose Your Containers: Select shallow trays, pots with drainage holes, or specialized seed-starting cells. Make sure they are clean to prevent disease. Yogurt cups or milk cartons can work if you poke drainage holes yourself. Clean containers are crucial; I learned this the expensive way after a bout of damping off. Aim for containers at least 2-3 inches deep to give roots room to grow initially.
- Use the Right Soil: Don’t use garden soil, as it compacts easily and may contain pathogens. Opt for a sterile seed-starting mix. These mixes are light, fluffy, and designed for optimal drainage and aeration. You can find them at any garden center. Some mixes contain a starter fertilizer, but most seeds have enough energy in their seed coat for germination. If not, you’ll feed them later.
- Sow Your Seeds: Read the seed packet carefully for depth recommendations. A general rule is to plant seeds at a depth twice their diameter. For tiny seeds, simply press them onto the soil surface and lightly cover with vermiculite or a fine layer of the seed-starting mix. Space seeds according to packet instructions, or sow a few per cell/pot and thin later.
- Provide Moisture and Warmth: Moisten the seed-starting mix thoroughly *before* sowing seeds. Then, gently water after sowing. Covering the containers with a plastic dome or plastic wrap helps maintain humidity, which is vital for germination. Place them in a warm spot, ideally between 70-80°F. A heat mat can be very beneficial for consistent warmth, especially for challenging seeds.
- Give Them Light: Once you see the first sprouts emerge, remove any covers and move the seedlings to a light source immediately. A sunny south-facing window can work, but grow lights are usually best. Position lights just a few inches above the seedlings and keep them on for 14-16 hours a day. This prevents them from becoming leggy and weak. Adjust light height as they grow.
- Care for Seedlings: Keep the soil consistently moist but not waterlogged. Water from the bottom by setting pots in a shallow tray of water for about 30 minutes, allowing the soil to wick up moisture. Once seedlings develop their first set of true leaves (the leaves that appear after the initial seed leaves), you can begin feeding them with a diluted liquid fertilizer, about half-strength, every 7-10 days. Ensure good air circulation to prevent fungal diseases.
- Harden Them Off: About 1-2 weeks before your last expected frost date, it’s time to acclimate your seedlings to outdoor conditions. This process is called hardening off. Start by placing them in a sheltered spot outdoors for a few hours a day, gradually increasing the time and exposure to sun and wind. Bring them in at night if temperatures drop significantly. This step is crucial to prevent transplant shock.
Common Myths About Starting Seeds Indoors
Myth: You can use soil straight from your garden for starting seeds indoors.
Reality: Garden soil is too dense for delicate seedlings. It compacts easily, hindering root growth and drainage. It can also harbor diseases and weed seeds. Using a sterile, lightweight seed-starting mix ensures better germination and healthier early growth. The USDA’s National Institute of Food and Agriculture highlights the importance of proper soil media for plant propagation.
Myth: Any sunny window is perfect for starting seeds.
Reality: While a bright window helps, most homes don’t get enough direct sunlight hours for seedlings to thrive. They often become tall, spindly, and weak from stretching towards the light. Using grow lights positioned a few inches above the plants for 14-16 hours daily provides the consistent, intense light they need for strong development.
Myth: Once seeds sprout, you can water them like mature plants.
Reality: Seedlings have fragile root systems and are susceptible to overwatering, which can lead to fungal diseases like damping off. It’s best to keep the seed-starting mix consistently moist but not soggy. Watering from the bottom allows the soil to absorb moisture as needed and prevents disturbing tiny seedlings.
Myth: You need special equipment to start seeds indoors.
Reality: While grow lights and heat mats can improve success rates, they aren’t strictly necessary. You can start seeds in recycled containers with drainage holes. A warm spot in your house (like on top of a refrigerator) can provide enough heat for germination for many plants. Patience and consistent care are more important than fancy equipment.
What to Track When Starting Seeds Indoors
Keeping track of a few key things will significantly improve your seed-starting success. It helps you troubleshoot problems and understand your plants’ needs. Here’s a checklist of what to monitor:
- Date of Sowing: Record when you planted each type of seed. This helps you calculate when to expect germination and when to transplant outdoors.
- Germination Rate: Note how many seeds sprouted out of the total planted for each variety. This helps you gauge seed viability.
- Watering Schedule: Keep a general idea of how often you’re watering. Are you watering daily, every other day? Adjust based on how quickly the soil dries out.
- Temperature: Monitor the temperature in your seed-starting area. Consistent warmth (70-80°F) is ideal for most seeds during germination.
- Light Exposure: Note how many hours of light seedlings are receiving daily. Ensure grow lights are adjusted to be just a few inches above the plants.
- Seedling Height: Track the growth rate. Are they growing steadily, or have they stalled? Leggy growth indicates insufficient light.
- Leaf Development: Observe when the first set of true leaves appears, distinguishing them from the initial cotyledons. This is also when you can start fertilizing.
- Signs of Disease/Pests: Watch for any wilting, yellowing, spots, or tiny bugs. Early detection is key to addressing issues.
Frequently Asked Questions About Starting Seeds Indoors
How long does it take for seeds to sprout indoors?
Germination times vary greatly by plant type. Some seeds, like lettuce or radish, can sprout in 3-7 days. Others, like peppers or tomatoes, might take 7-14 days or even longer. Always check the seed packet for specific germination timelines. Providing consistent warmth and moisture is key to encouraging germination.
What is the best light source for starting seeds indoors?
While a bright, sunny window can work for some plants, grow lights are generally the best option. They provide consistent, full-spectrum light for 14-16 hours a day, preventing seedlings from becoming weak and leggy. Fluorescent shop lights or LED grow lights are effective and affordable choices for home gardeners.
How often should I water seedlings started indoors?
Keep the seed-starting mix consistently moist but not waterlogged. A good method is to water from the bottom, allowing the soil to absorb water through drainage holes. Check the soil moisture daily; if the surface feels dry, it’s time to water. Overwatering can lead to fungal diseases like damping off, which is why good drainage is so important.
When can I transplant seedlings started indoors outside?
You can transplant seedlings outdoors after all danger of frost has passed in your area and they have been properly hardened off. This typically takes 1-2 weeks of gradual acclimation. Ensure seedlings have developed several sets of true leaves and are sturdy enough to handle outdoor conditions. Check your local USDA Plant Hardiness Zone for average frost dates.
Can I reuse seed starting mix?
While you can reuse seed starting mix, it’s generally not recommended for starting seeds. The mix loses its beneficial structure and may still contain pathogens or disease spores that could harm new seedlings. It’s best to use fresh, sterile seed starting mix each season for optimal results. If you must reuse it, sterilize it first by baking it in the oven.
Why are my seedlings turning yellow?
Yellowing seedlings can be caused by several factors. Overwatering can lead to root rot, preventing nutrient uptake. Underwatering can stress the plant. Insufficient light is another common cause, as seedlings stretch and weaken. If you’ve recently fertilized, you might have overdone it. Check your watering, light, and fertilization practices. Your local cooperative extension can offer specific advice based on symptoms.
Happy Seed Starting!
Starting seeds indoors is a rewarding journey that opens up a world of gardening possibilities. It requires a bit of attention and care, but the payoff is huge. Remember, you don’t need to be perfect from day one. I certainly wasn’t! Focus on the basics: clean containers, good soil, consistent moisture, and adequate light. If you encounter issues, don’t hesitate to reach out to your local cooperative extension office for expert guidance. They are a fantastic resource for gardeners.