Seed Sowing: Indoors or Outdoors?
Short answer: The best time for seed sowing, whether indoors or outdoors, depends on the plant. Tender plants like tomatoes and peppers benefit from an indoor head start, sown 6-8 weeks before the last frost. Hardier plants, like peas, radishes, and lettuce, can be sown directly outdoors as soon as the soil is workable in early spring. Cool-season crops often tolerate direct sowing, while heat-loving plants usually need an indoor start. Always check your specific plant variety’s needs and your local climate’s frost dates (vegetable garden).
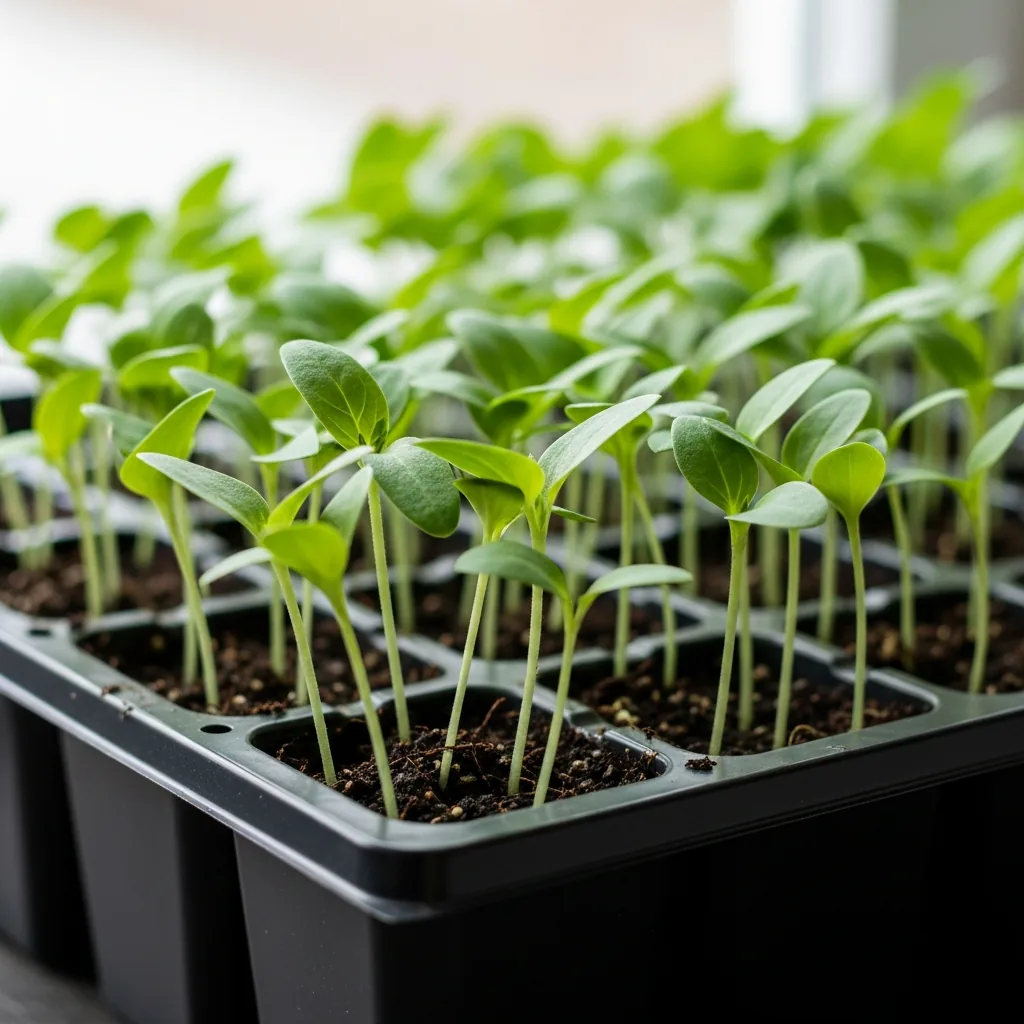
Starting plants from seed is one of the most rewarding parts of gardening. You get to witness that tiny speck of life turn into a big, beautiful plant. But sometimes, figuring out the best way to do your seed sowing can feel a bit overwhelming. Should you start them inside under lights, or wait for the last frost and sow directly into the garden soil?
I’ve definitely been there, staring at a packet of seeds and wondering if I’m making the right choice. This guide breaks down the ins and outs of seed sowing for the home gardener. We’ll cover when to start seeds indoors versus sowing them directly outside. We’ll also touch on preparing your soil and what to do once those little seedlings pop up. This isn’t about complicated botany; it’s about practical gardening tips grounded in advice from trusted sources.
Why Seed Sowing Choices Matter for Your Garden
Choosing between indoor seed starting and direct outdoor sowing really impacts your garden’s success. It’s not just about getting plants in the ground; it’s about giving them the best possible start. For many gardeners, especially those in regions with shorter growing seasons, starting seeds indoors is crucial. It lets you get a jump on the season. You can have sturdy transplants ready to go when the weather warms up. This is a big deal for plants that need a long, warm season to mature, like tomatoes or peppers.
On the other hand, some seeds just don’t like being transplanted. They prefer to be sown right where they’ll grow. Direct sowing can also be simpler, requiring less equipment and fuss. The USDA Natural Resources Conservation Service notes that understanding your local climate and frost dates is key to successful planting, whether you’re starting indoors or out [https://www.nrcs.usda.gov/Internet/FSE_PLANTMATERIALS/publications/idpfm002.pdf]. Getting this timing right means healthier plants and a more abundant harvest for you. It’s about setting your garden up for success from the very beginning.
Seed Sowing: When to Start Indoors vs. Outdoors
Deciding where and when to start your seed sowing is a core gardening skill. It requires observing your plants and your environment. Here’s a breakdown to help you make the right call:
Worth starting indoors (sow 6-8 weeks before last frost):
- Tomatoes: Need a long, warm season. Starting indoors gives them a significant head start. Look for strong stems and a few sets of true leaves before transplanting.
- Peppers (Bell and Hot): Similar to tomatoes, peppers are slow growers and need warmth. Indoor starts are almost essential in cooler climates.
- Eggplant: Another heat-lover that benefits greatly from an early indoor start.
- Cucumbers and Melons: While they grow fast, they are sensitive to cold. Starting them indoors 2-4 weeks before the last frost can prevent setbacks.
- Broccoli, Cabbage, Cauliflower: These brassicas can be started indoors 4-6 weeks before transplanting. This gives you strong seedlings ready for the cool spring weather.
Worth sowing directly outdoors (as soon as soil is workable or after last frost):
- Peas and Beans: These prefer cooler soil and don’t transplant well. Sow them as soon as the ground can be worked in spring.
- Lettuce and Spinach: Cool-season crops that can be direct-sown in early spring and again in fall.
- Radishes: Very fast growers that prefer direct sowing. They mature quickly.
- Carrots and Beets: Root vegetables that dislike root disturbance. Direct sowing is best for them.
- Squash (Summer and Winter): These love warmth but can be direct-sown after all danger of frost has passed and the soil has warmed up.
- Corn: Needs warm soil and ample space. Direct sowing is the standard method.
The Royal Horticultural Society also recommends considering your specific variety and local conditions, noting that some plants are more forgiving than others [https://www.rhs.org.uk/advice/beginners-guide/vegetable-basics/seed-sowing-techniques].
Your Step-by-Step Guide to Seed Sowing
- Prepare your indoor seed-starting mix. Use a sterile, lightweight seed-starting mix. You can buy this or make your own by mixing equal parts peat moss, compost, and perlite. Moisten it slightly before filling your containers. This ensures good drainage and prevents damping off, a common fungal disease.
- Sow seeds according to packet directions. Fill small pots, seed trays, or cell packs with your prepared mix. Sow seeds at the depth recommended on the packet – a good rule of thumb is twice the seed’s diameter. Gently cover with soil and lightly water.
- Provide the right environment for germination. Most seeds need warmth and moisture to sprout. You can cover trays with a clear plastic dome or plastic wrap to retain humidity. A heat mat can speed up germination for heat-loving plants like peppers. Keep the soil consistently moist but not soggy.
- Transition seedlings to light. Once seeds sprout, remove any covers immediately. They need bright light to grow strong, not leggy stems. Place them under grow lights, about 2-4 inches above the seedlings, for 14-16 hours a day. If using a sunny windowsill, rotate the containers daily.
- Harden off your seedlings before transplanting. About 7-10 days before you plan to plant them outside, start acclimating your seedlings to outdoor conditions. Gradually expose them to more sun, wind, and cooler temperatures each day. Bring them in at night initially. This crucial step prevents transplant shock.
- Prepare your garden bed for direct sowing. For seeds sown directly outdoors, ensure your soil is ready. Remove weeds and debris. Loosen the soil to a depth of 6-8 inches. Incorporating some compost can improve soil structure and fertility. The Penn State Extension offers great advice on preparing garden beds for planting [https://extension.psu.edu/downloadable/download/sample/sample_id/130789/].
- Direct sow outdoor seeds at the right time. Sow seeds directly into the prepared garden soil according to packet instructions. Pay attention to soil temperature and your last frost date. For example, peas can go in when soil temps are around 40°F, while beans need it warmer, closer to 60°F.
Common Seed Sowing Myths Debunked
Myth: All seeds need to be started indoors to get a good harvest.
Reality: This isn’t true at all. Many vegetables, like peas, beans, carrots, and radishes, thrive when direct-sown outdoors. They dislike root disturbance and grow best when planted directly into their final garden spot. Over-transplanting can stress these plants. Check seed packets for specific recommendations.
Myth: Seedlings that get leggy (tall and thin) are a lost cause.
Reality: Leggy seedlings usually just need more light. They’re stretching because they aren’t getting enough. Moving them closer to a grow light or a brighter window can often correct this. You can also plant them a bit deeper when you transplant them, burying some of the stem, which will encourage more root growth.
Myth: You can use regular garden soil for starting seeds indoors.
Reality: Garden soil is too dense and may contain weed seeds or diseases. It compacts easily in pots, hindering drainage and air circulation. Always use a sterile, lightweight seed-starting mix for indoor sowing. This ensures a clean slate for your delicate seedlings. Clemson University Extension recommends using a sterile medium for best results [https://hgic.clemson.edu/factsheet/starting-seeds-indoors/].
Myth: Once seeds sprout, they’ll grow on their own.
Reality: Seedlings are fragile and have specific needs. They require consistent moisture, adequate light, and proper temperatures. Neglecting these can lead to weak plants or disease. Proper care is essential for successful growth after germination.
What to Track for Successful Seed Sowing
Keeping notes helps you learn from your gardening year. It’s especially useful for seed sowing. This information is also great to have if you need to consult with your local cooperative extension office.
- Germination Date: Note when you planted the seed and when you first saw sprouts.
- Light Source & Duration: Record if you used grow lights or a window, and for how many hours per day.
- Watering Frequency: How often did you water? Was the soil consistently moist or did it dry out?
- Temperature: Note the ambient temperature where your seeds/seedlings are growing. Were they on a heat mat?
- Seedling Height: Measure your seedlings weekly to track growth rate.
- Leaf Development: Count the number of true leaves. This indicates maturity for transplanting.
- Hardening Off Period: How many days did you expose them to outdoor conditions? Note any signs of stress.
- Transplant Date: Record when you moved seedlings from their starting cells into the garden.
- Direct Sow Date: Note when you planted seeds directly into the garden beds.
- Weather Conditions at Direct Sow: Was it sunny, rainy, cool, or warm?
Frequently Asked Seed Sowing Questions
How deep should I sow seeds?
The general rule of thumb is to plant seeds at a depth that is two to three times their diameter. For very tiny seeds, like those of petunias or lettuce, you might just need to press them onto the soil surface and barely cover them, or not at all. Always check the seed packet for specific depth recommendations.
What’s the best soil for starting seeds indoors?
You need a sterile, lightweight seed-starting mix. These mixes are designed for good drainage and aeration, which is crucial for delicate seedlings. They typically contain ingredients like peat moss, vermiculite, or perlite. Avoid using heavy garden soil, which can compact and harbor diseases. You can find excellent seed-starting mixes at garden centers.
How long do seedlings need under grow lights?
Seedlings generally need 14 to 16 hours of light per day. Position your grow lights just a few inches above the tops of the seedlings. As the plants grow taller, you’ll need to adjust the light height. This prevents them from becoming leggy as they stretch for light.
When is it safe to transplant seedlings outside?
It’s safe to transplant seedlings outdoors after all danger of frost has passed in your area and the soil has warmed up. For most tender plants, this means waiting until nighttime temperatures are consistently above 50°F. It’s also vital that you’ve hardened off your seedlings properly beforehand to acclimate them to outdoor conditions.
Can I reuse seed starting trays?
Yes, you can reuse seed starting trays, but it’s important to clean and sterilize them first. Wash them thoroughly with soap and water, then soak them in a solution of 1 part bleach to 9 parts water for about 10-15 minutes. Rinse them well and let them air dry completely before use. This helps prevent the spread of diseases.
What does ‘workable soil’ mean for direct sowing?
‘Workable soil’ means the soil is moist enough to be shaped but not so wet that it turns into a sticky, clumpy mess. When you grab a handful, it should crumble easily when poked. If it forms a tight ball that doesn’t break apart, it’s too wet. Waiting for workable soil is key for good seed-to-soil contact and germination.
Your Seed Sowing Journey
start seed sowing is a fantastic way to connect with your garden. Whether you’re starting tiny seeds indoors or direct sowing hardy varieties outside, it’s a process of patience and observation. Don’t be discouraged if not every seed sprouts or every seedling thrives; I’ve certainly learned a lot from my own gardening mishaps!
Remember to check your specific plant needs and local climate. When in doubt, consulting resources like your local cooperative extension office or checking with an ISA-certified arborist for larger plant concerns can be incredibly helpful. Happy growing!