Quick Answer: Moving Houseplants Outdoors (houseplant care)
TL;DR: Moving houseplants outdoors for the summer can invigorate them with more light and fresh air. Start after the last frost, typically May in many US regions. Gradually acclimate your plants over one to two weeks by placing them in a shady, protected spot outdoors during the day and bringing them in at night. Increase light exposure slowly to prevent scorching. Water more frequently as they dry out faster outside. Feed them regularly with a balanced fertilizer. Before the first frost, typically September or October, bring them back inside, inspecting carefully for pests like slugs.
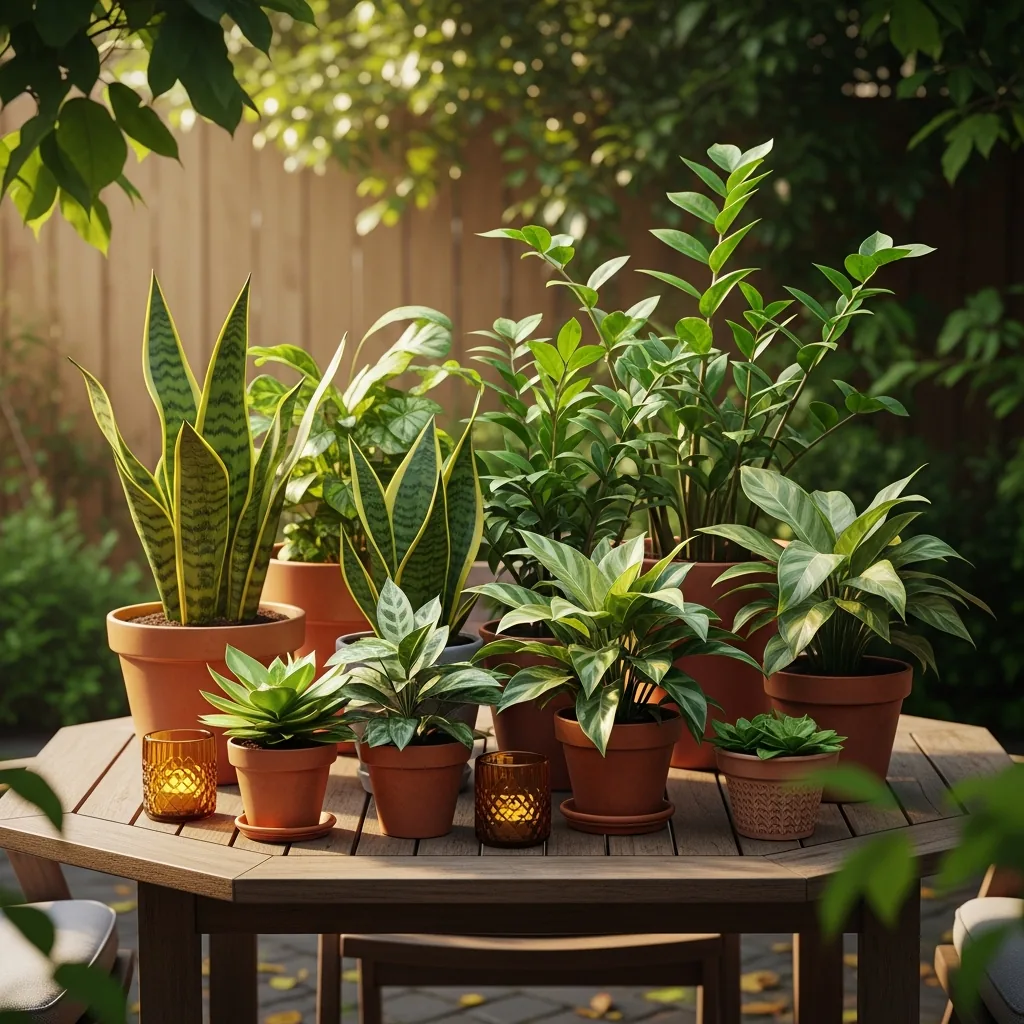
Want to give your houseplants a summer vacation? Moving houseplants outdoors can really boost their health. You’ll see greener leaves and stronger growth. It’s like a spa day for your green friends! I’ve definitely learned a few things over the years. this guide covers walk you through it. We’ll cover when to move them, how to do it safely, and what to watch for. We’re not covering tropicals that should stay inside, though. That’s a whole other chat!
Why Your Houseplants Will Love a Summer Outdoors
Let’s talk about why this whole process is even a thing. Moving houseplants outdoors for the summer isn’t just a fun garden project. It’s genuinely good for many of them. Think about it: inside, they get consistent, often limited, light. Outside, they get more natural light intensity. This can really kickstart photosynthesis and encourage stronger stems and bigger leaves. Plus, outdoor air circulation is way better than what your HVAC system provides. This helps prevent fungal issues and strengthens plants.
Rain is another big plus. It washes away dust that builds up on leaves. Dust can block light and make it harder for plants to breathe. An outdoor shower is like a spa treatment! The University of Illinois Extension notes that a summer vacation outdoors can improve plant vigor and appearance. They suggest it’s a great way to refresh your indoor collection. It’s not just about looks; it’s about plant health. A well-acclimated plant returning indoors in the fall is often stronger and more resilient.
When to Move Them Out: Wait vs. Act
Deciding when to make the move is crucial. Rushing it can lead to heartbreak, and trust me, I’ve had my share of plant heartbreak. Getting this timing right makes all the difference for your plant’s well-being.
Worth waiting for:
- Temperatures consistently above 50°F (10°C) at night. Frost is the enemy of most houseplants.
- The last expected frost date has passed for your region. Check your local cooperative extension for specific dates.
- Signs of active growth on your plants indoors, like new leaves or shoots.
- A clear forecast with no sudden cold snaps predicted.
- You have a suitable spot chosen that offers protection.
- You have at least two weeks before you plan to bring them back in to reverse the process.
Worth calling an expert:
- You suspect your soil might be contaminated with heavy metals or chemicals. This is rare for potted plants but worth checking if you used questionable soil or are near an industrial site. Your local cooperative extension can guide you on soil testing.
- Your plant is showing signs of severe pest infestation that you can’t identify or manage. University of Illinois Extension’s IPM resources can help, but sometimes a pro eye is needed.
- You’re unsure if a plant is truly a houseplant or a tender perennial that could survive outdoors year-round in your zone.
- You’re considering moving very large or heavy plants that require special handling.
- Your plant is looking extremely stressed or sick, and you’re unsure if the move will help or harm it further.
Step-by-Step: Moving Houseplants Outdoors Safely
- Check the Calendar and Forecast: Don’t just guess. Make sure the danger of frost has completely passed. For many parts of the US, this means waiting until at least mid-May. Some colder regions might need to wait until June. Always check your local weather for upcoming cold snaps, even in summer. Moving them too early is a common mistake I learned the expensive way.
- Choose the Right Spot: Find a location that offers protection from harsh, direct sun and strong winds. Dappled shade under a tree or on a covered porch is often ideal. Avoid spots that get blasted by midday sun, especially if your plants are used to lower indoor light. The Royal Horticultural Society (RHS) suggests avoiding direct sun, which can scorch leaves.
- Begin Acclimation (The Gradual Intro): This is the most critical step. For the first week, place your plants in their chosen shady spot outdoors during the day. Bring them back inside every night. This helps them adjust to cooler temperatures and lower light levels than they’ll experience in full sun.
- Increase Light Exposure Slowly: After a week of daytime-only exposure, you can start leaving them out longer. Begin exposing them to a little more direct morning sun, but still shield them from the intense afternoon heat. Gradually increase the duration of sun exposure over another week or two. Watch your plants closely for any signs of stress like wilting or leaf browning.
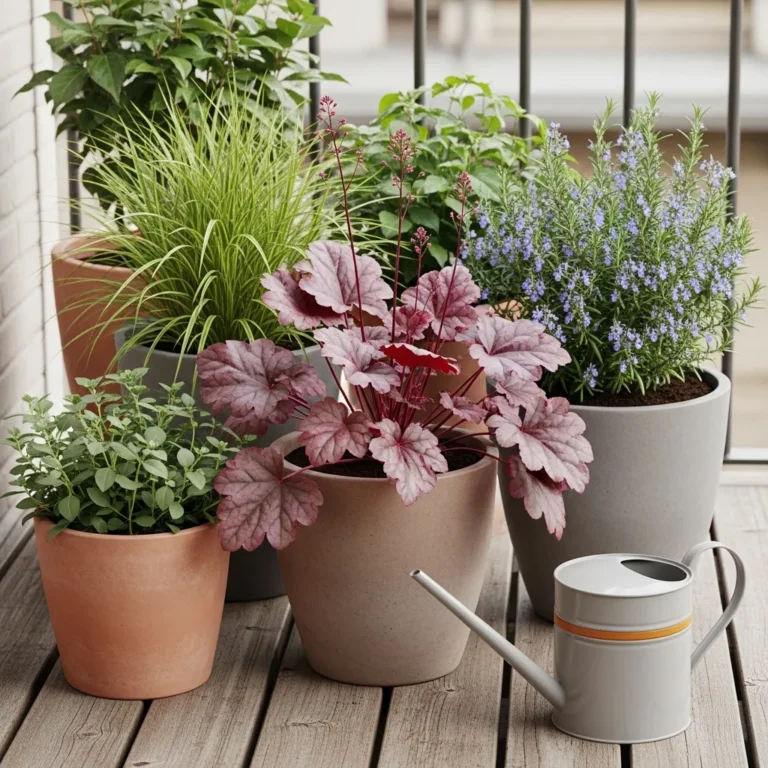
- Watering and Feeding Adjustments: Plants dry out much faster outdoors, especially in wind and sun. Check the soil moisture daily by sticking your finger about an inch deep. Water thoroughly when the top inch feels dry. You’ll likely need to water more often than you did indoors. Consider feeding them with a diluted liquid fertilizer every 2-4 weeks, following product instructions. This supports their growth outdoors.
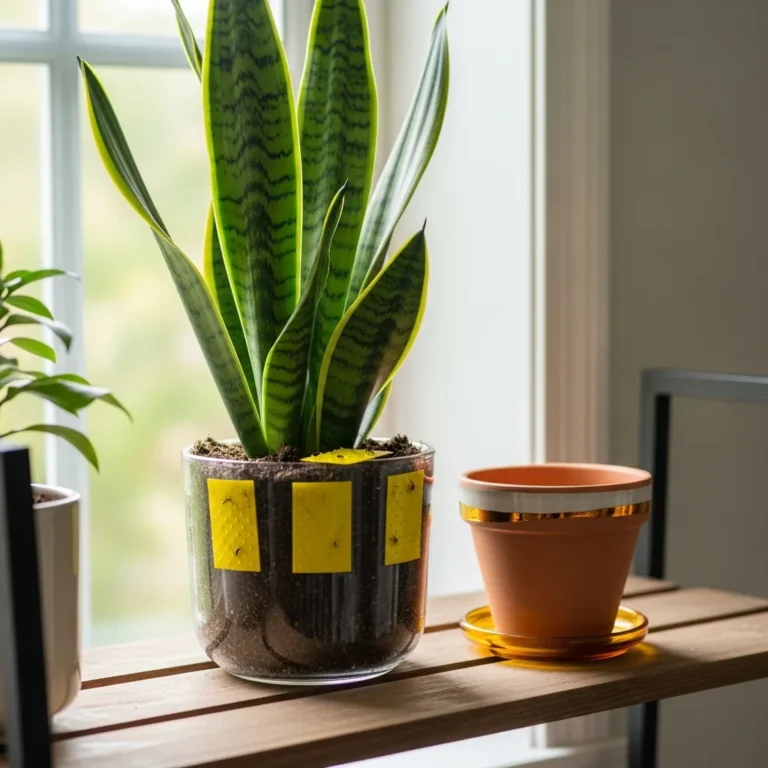
- Pest Patrol: Keep an eye out for common garden pests like aphids, spider mites, slugs, and snails. If you spot them, try natural remedies first, like a strong spray of water or insecticidal soap. For slugs and snails, barriers or traps might be needed. University of Illinois Extension offers great tips on identifying and managing common garden pests.
- Prepare for the Return: As summer winds down, start planning their indoor return. Aim to bring them back inside before the first frost, usually late September or October. Reverse the acclimation process, gradually reducing their outdoor sun exposure, and bring them in at night for a week or two before moving them permanently indoors.
Common Misconceptions About Moving Houseplants Outdoors
Myth: All houseplants benefit from spending the summer outdoors.
Reality: While many houseplants thrive outdoors, some delicate tropicals, like certain orchids and African violets, prefer consistent indoor conditions. Their specific needs for humidity and light might not be met outdoors, leading to stress or damage. Always research your specific plant’s needs before moving it outside.
Myth: You can move houseplants straight from indoors to full sun outdoors.
Reality: This is a recipe for disaster. Plants accustomed to lower indoor light will get severely sunburned if placed directly in full sun. Their leaves can turn yellow, brown, or even develop crispy, scorched patches. Gradual acclimation over one to two weeks is essential to prevent this shock, as detailed by the RHS.
Myth: Houseplants outdoors don’t need much extra watering.
Reality: This is far from true. Pots dry out significantly faster outdoors due to increased sun, wind, and higher temperatures. You’ll likely need to check your plants daily and water more frequently than you would indoors. Overlooking this can lead to wilting and stress.
Myth: Once outside, pests are no longer a concern.
Reality: In fact, outdoor environments introduce a whole new set of potential pests. Aphids, spider mites, slugs, snails, and caterpillars can all find your plants. Vigilance and regular inspection are key to catching infestations early. The University of Illinois Extension provides resources to help identify these common garden invaders.
What to Track: Your Outdoor Houseplant Checklist
Keeping an eye on your plants while they’re outside is key to their success. This simple checklist helps you observe and react to their needs. It also gives you great information if you ever need to consult an expert.
- Soil Moisture: Check daily by touching the soil. Note if it feels dry, moist, or wet.
- Leaf Color: Look for lively green. Yellowing or browning can indicate issues like sunburn, underwatering, or pests.
- Leaf Position: Are leaves perky or wilting? Wilting often signals thirst, but can also be heat stress.
- New Growth: Are you seeing new leaves or stems? This is a good sign they’re happy.
- Pest Presence: Inspect leaves (tops and undersides) and stems for any signs of insects or slugs. Note the type and quantity.
- Sun Exposure: Observe how much direct sun the plant is getting and if it seems to be handling it well.
- Watering Frequency: Keep a rough note of how often you’re watering. Does it change with temperature or wind?
- Fertilizer Schedule: Note when you last fed the plant and with what.
Frequently Asked Questions About Moving Houseplants Outdoors
What kind of houseplants can go outside?
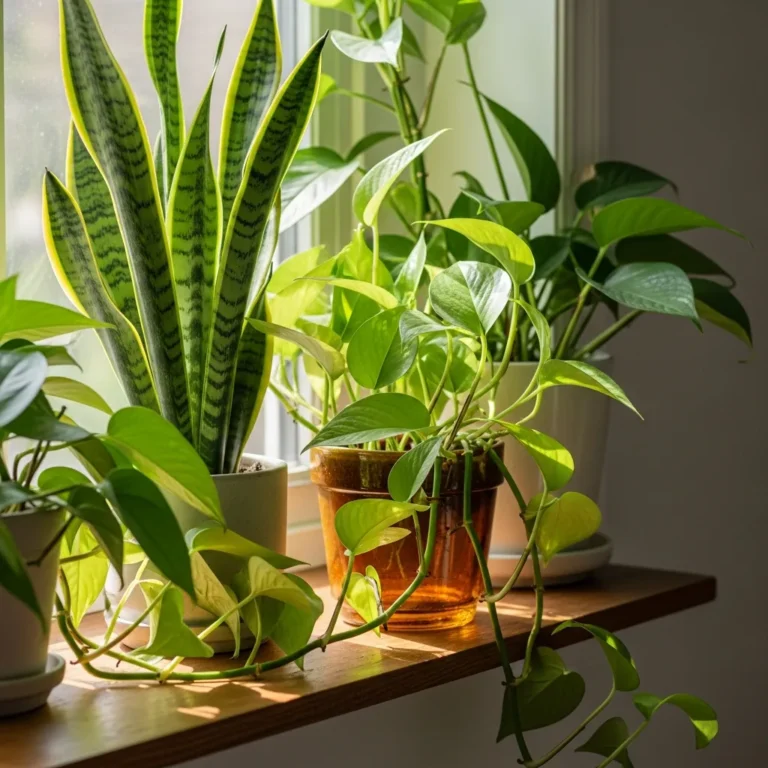
Most common houseplants can enjoy a summer outdoors. Think plants like snake plants, ZZ plants, pothos, and spider plants. They generally tolerate the transition well. However, very sensitive tropicals or those with fine, delicate leaves may struggle with the change in conditions and are often best left inside.
How do I protect my houseplants from pests outdoors?
Regular inspection is your first line of defense. Look under leaves and around stems for common pests. You can often rinse small infestations off with water. For more persistent pests like aphids or spider mites, insecticidal soap or neem oil can be effective. Consider companion planting with pest-repelling herbs if they are in larger containers. You can learn more about pest control from the University of Illinois Extension.
Can I leave my houseplants outside overnight?
Only after they have fully acclimated and the nighttime temperatures are consistently warm, typically above 50°F (10°C). During the initial acclimation period, it’s crucial to bring them inside at night to protect them from cooler temperatures and dew. Never leave tender plants out if frost is a possibility.
What if my houseplants get sunburned?
If you notice yellowing or brown, crispy patches on leaves, your plant has likely been sunburned. Move it immediately to a shadier location. Prune off the damaged leaves. While the plant can recover and put out new growth, the scorched areas won’t heal. This is why gradual acclimation is so important.
How often should I fertilize houseplants outdoors?
Plants generally grow more actively outdoors due to increased light and warmth. Fertilize them with a diluted, balanced liquid fertilizer every 2 to 4 weeks during their outdoor stay. Always follow the instructions on the fertilizer packaging. Avoid over-fertilizing, which can harm the plant.
When should I bring my houseplants back inside?
Start bringing your plants back indoors before the first frost, usually in early to mid-fall. This might be late September or October, depending on your climate. It’s wise to reverse the acclimation process, gradually reintroducing them to lower indoor light conditions over a week or two to minimize shock.
Should I repot my houseplants before or after moving them outside?
It’s generally best to repot in late winter or early spring, before the growing season really kicks off and before moving them outdoors. This gives them time to adjust to the new soil and pot size. If a plant desperately needs repotting, you can do it just before moving them out, but be extra gentle during the acclimation process as they’ll be more stressed.
Enjoy Your Thriving Houseplants
Moving your houseplants outdoors for the summer can be incredibly rewarding. Seeing them perk up with fresh air and light is a joy. Remember to take it slow with the transition. Watch for those little signs they give you. If you’re ever unsure about a plant’s health, a pest you can’t identify, or potential soil issues, don’t hesitate to reach out to your local cooperative extension office. They’re a fantastic resource for us backyard gardeners!